Upper Roof Finished

I finished the upper section of roof this weekend.  It’s hard to see from the ground because it’s way up there, but here are some pictures anyway.

wpid-wp-1415689444423.jpeg wpid-wp-1415689978032.jpegYou can see better from the top.  It sure seems like a long way down when you’re up there!  I also got a start on the North side of the lower roof.  I think I might be able to finish the roofing next weekend if things go well.

wpid-wp-1415689363789.jpeg wpid-wp-1415689851006.jpeg wpid-wp-1415689256766.jpeg

A Little Bit More Roof

I did more roofing this past weekend.  I wasn’t able to do as much as I would have liked on Saturday because it rained the previous evening and everything was wet, including the roof.  It almost dried out before starting to sprinkle some more, and then it dried out again in the afternoon.  I was able to get in about three hours of actual work!  🙂

Then when I was cleaning up my tools at dusk it started to really come down in buckets.

Sunday was sunny and dry, and I managed to get about three fourths of the roll roofing installed on the upper roof.  I didn’t get a picture though, I was too busy nailing and trying to spread roofing cement in 55 degree weather.  It’s really thick at that temperature, it was almost like trying to spread cookie dough with a paintbrush.

A Little Bit Of Roof

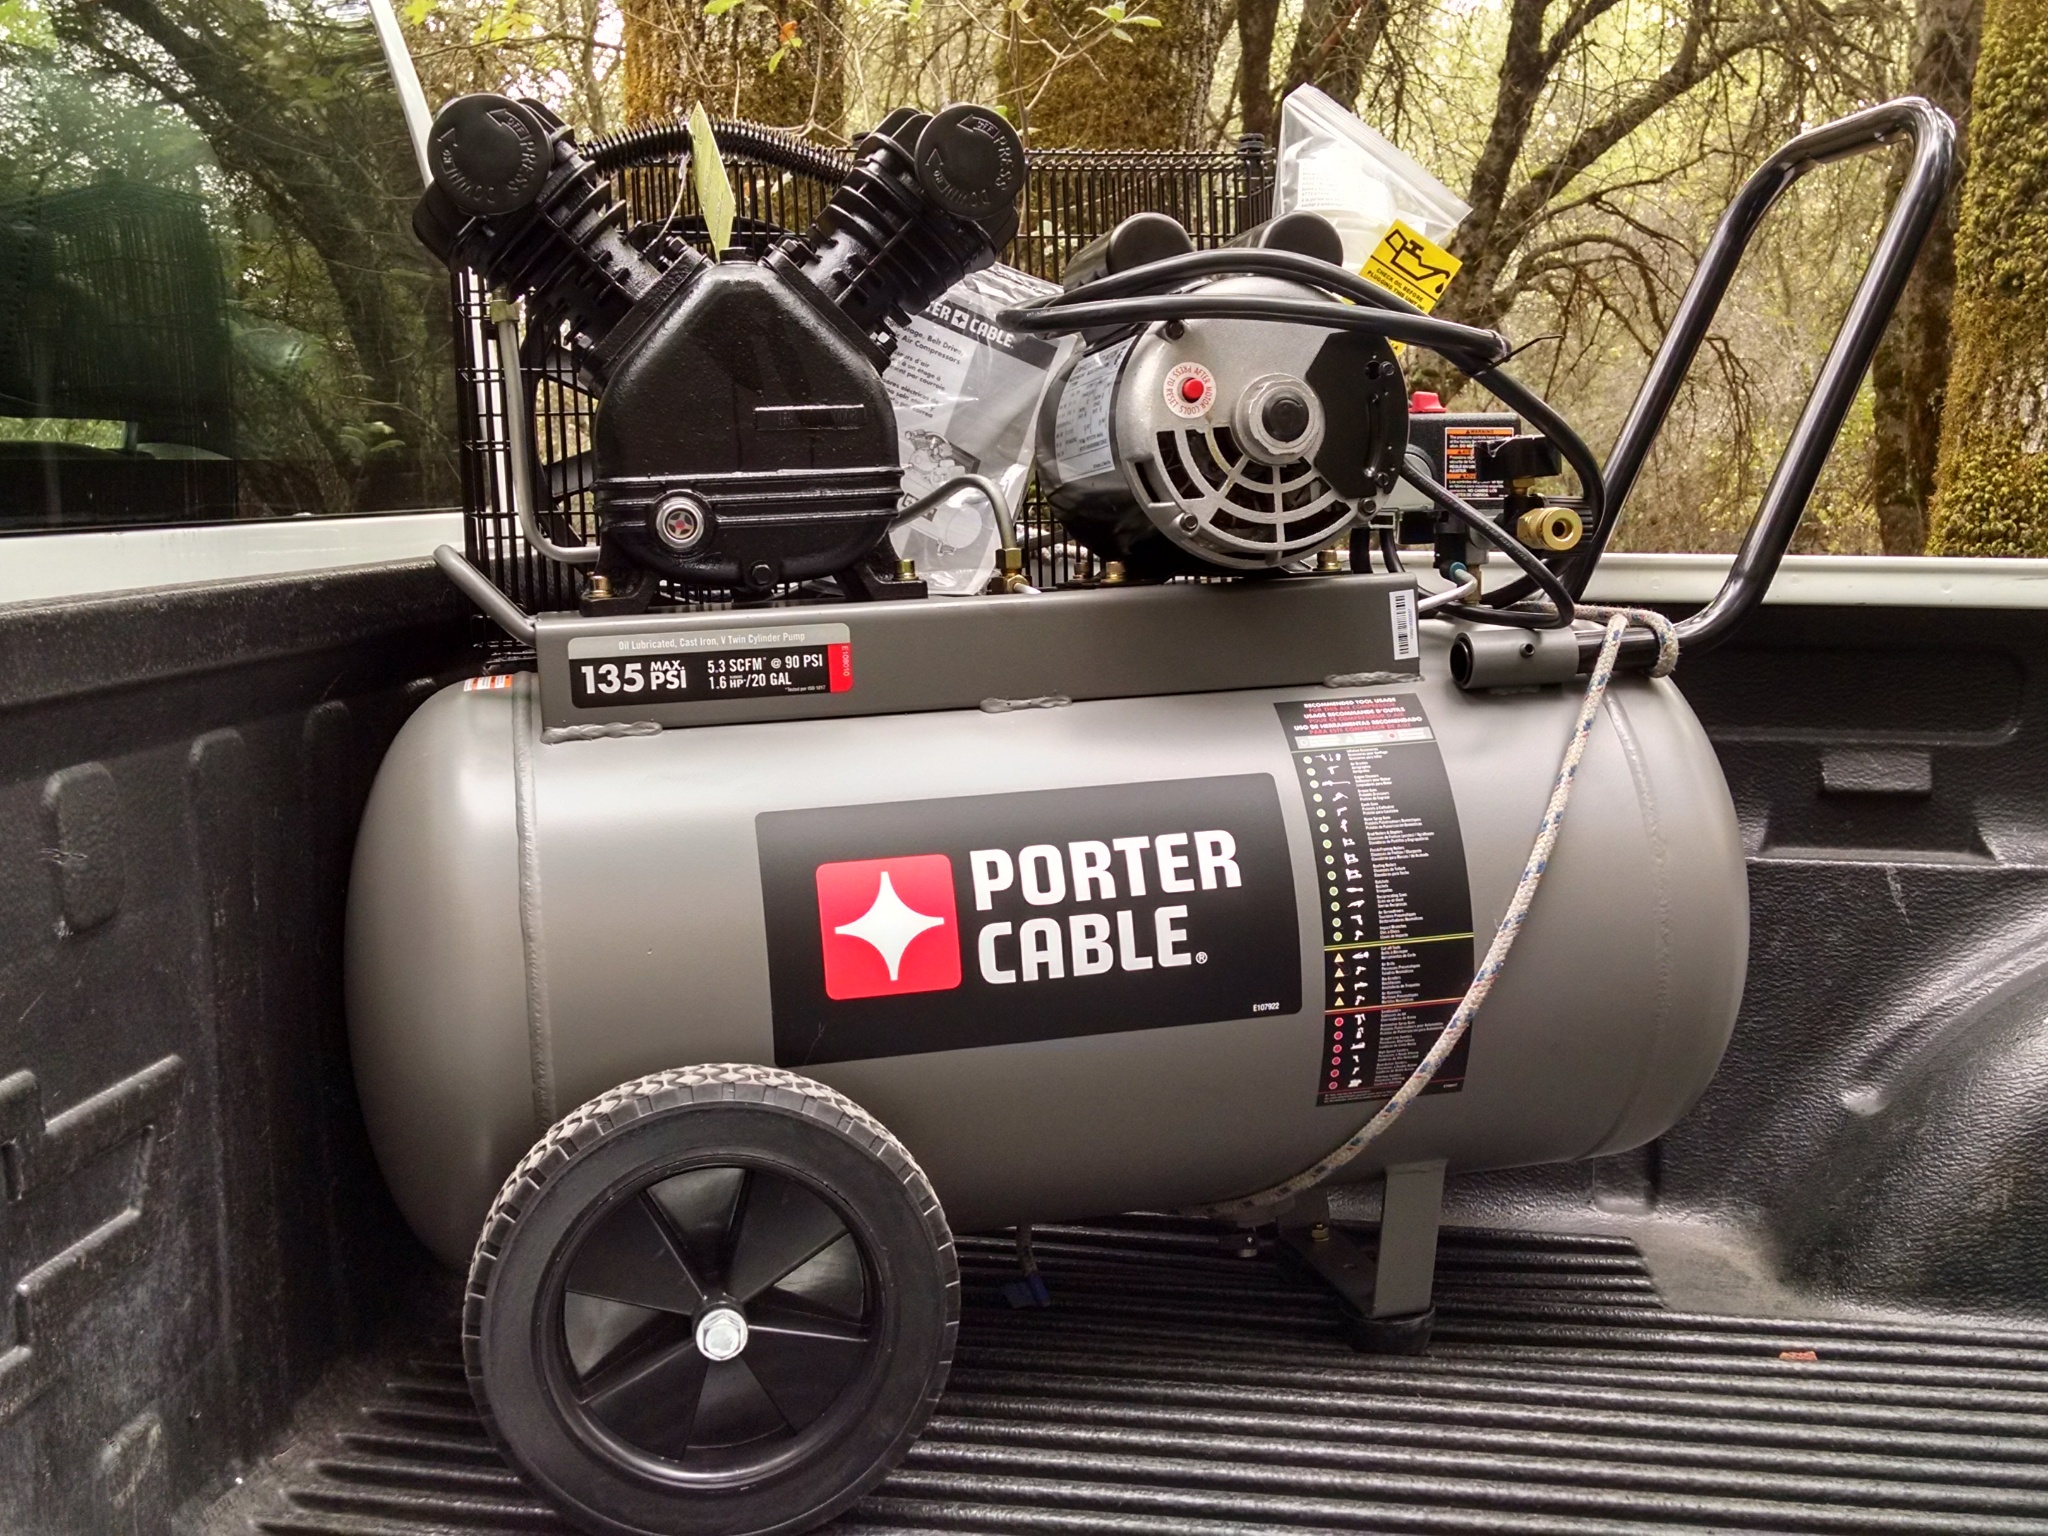
I didn’t get a whole lot of barn work done today.  I spent several hours trying some various ideas for getting my new air compressor running on my 4kW generator, none of which actually worked. In the end I tried running just the motor with the compressor drive belt removed and I found out that the generator won’t even start the compressor motor with no load at all.  Here’s what I think is happening:  The motor starting winding draws a ton of amps when the motor first kicks on.  On utility power this isn’t a big deal, there’s a centrifugal switch which turns off the starting winding once the motor comes up to speed a second or two after being energized.  On my generator however, the start winding draws enough current that it causes the generator engine to slow down.  The reduced speed causes a corresponding reduction in the frequency of the power that the generator is putting out.  Because of the lower frequency the compressor motor never gets turning fast enough to disengage the start winding, so it’s sort of a Catch 22.  The generator can’t put out enough power to fully energize the start winding, and the start winding won’t disengage until it gets enough power to get the motor turning at full speed.

Clear as mud?  Never mind.  Anyway it didn’t work so I gave up and used a little compressor that I brought with me from the shop to use as a backup.  My big compressor isn’t going to work until I get utility power hooked up.

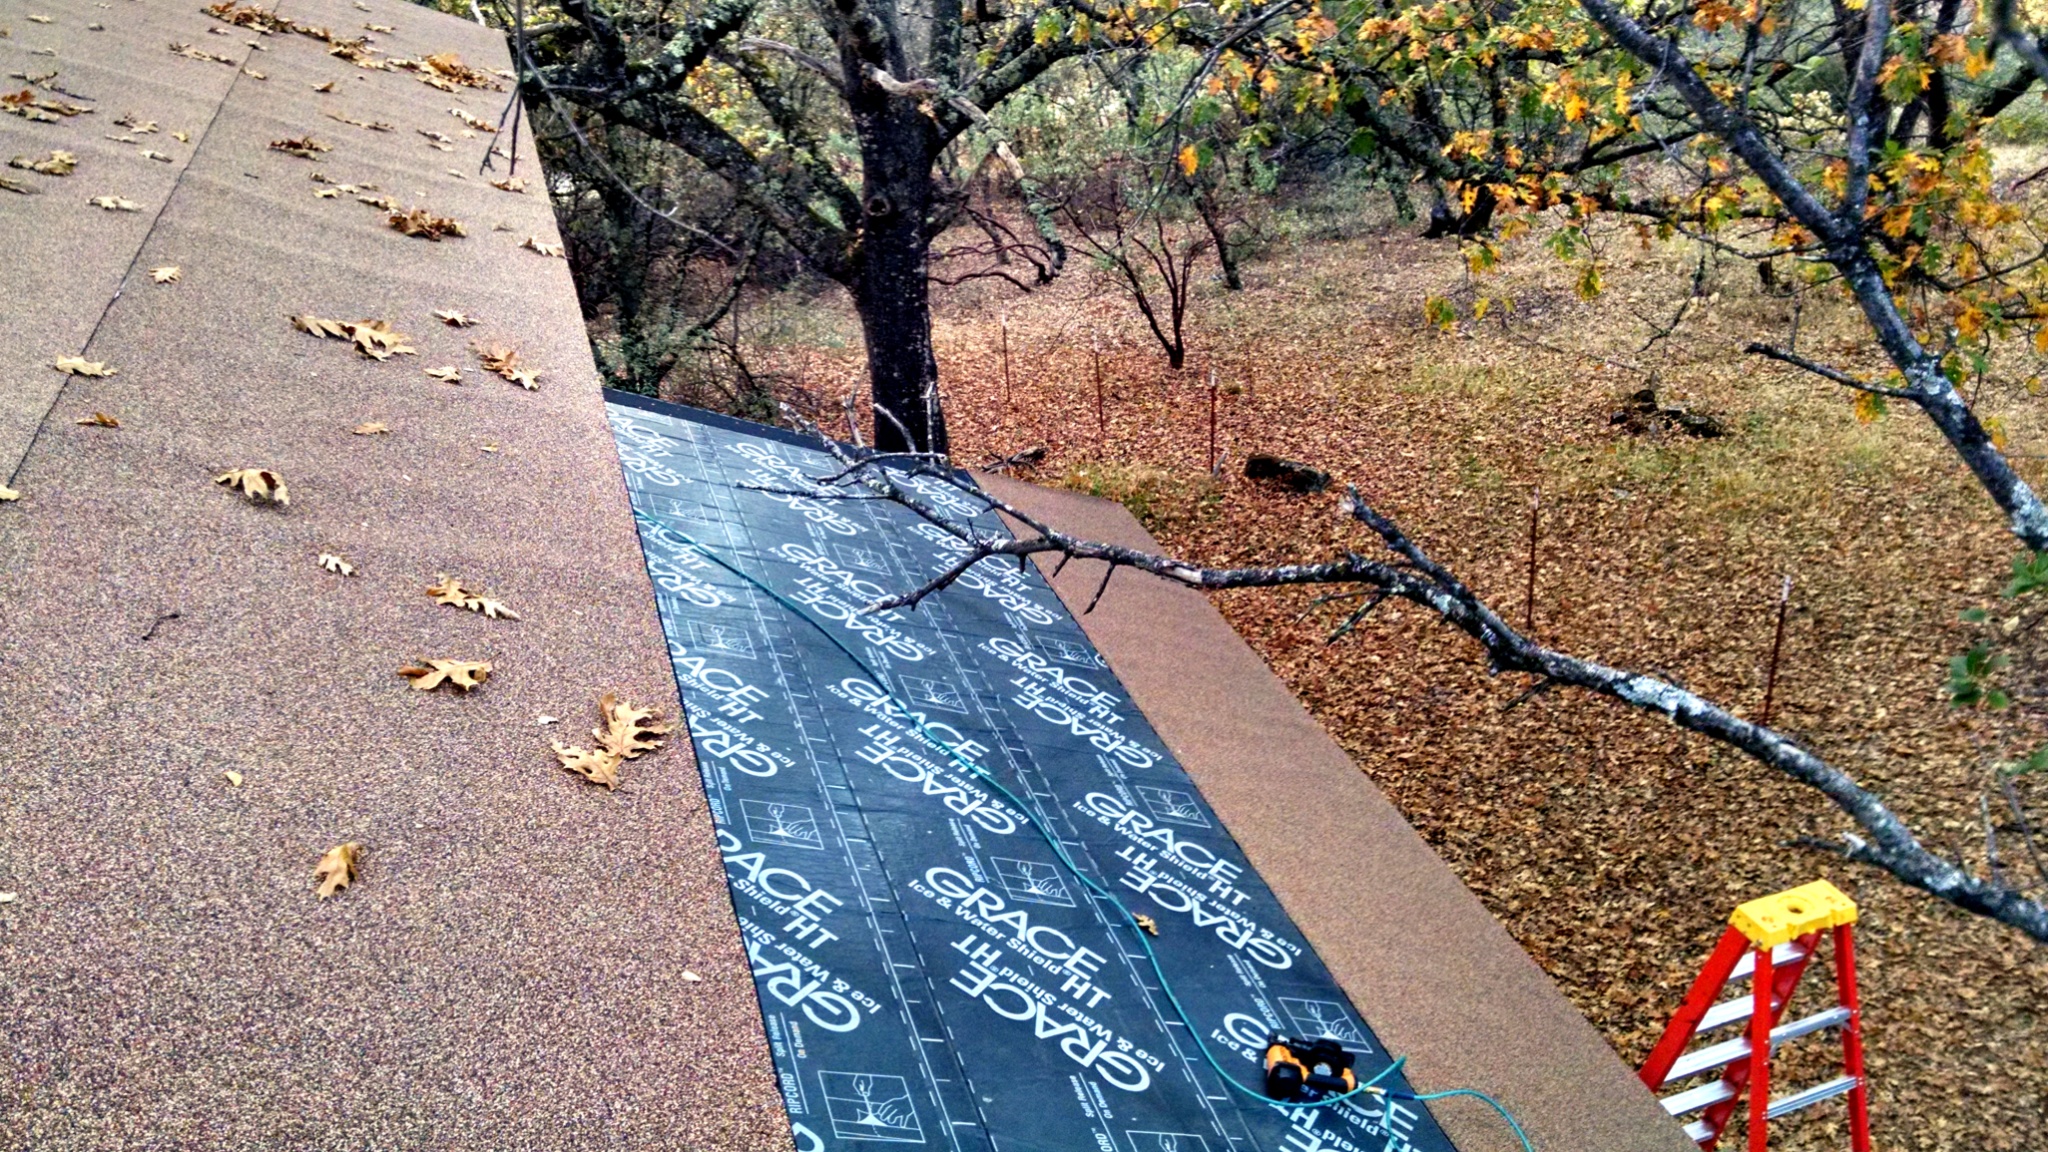
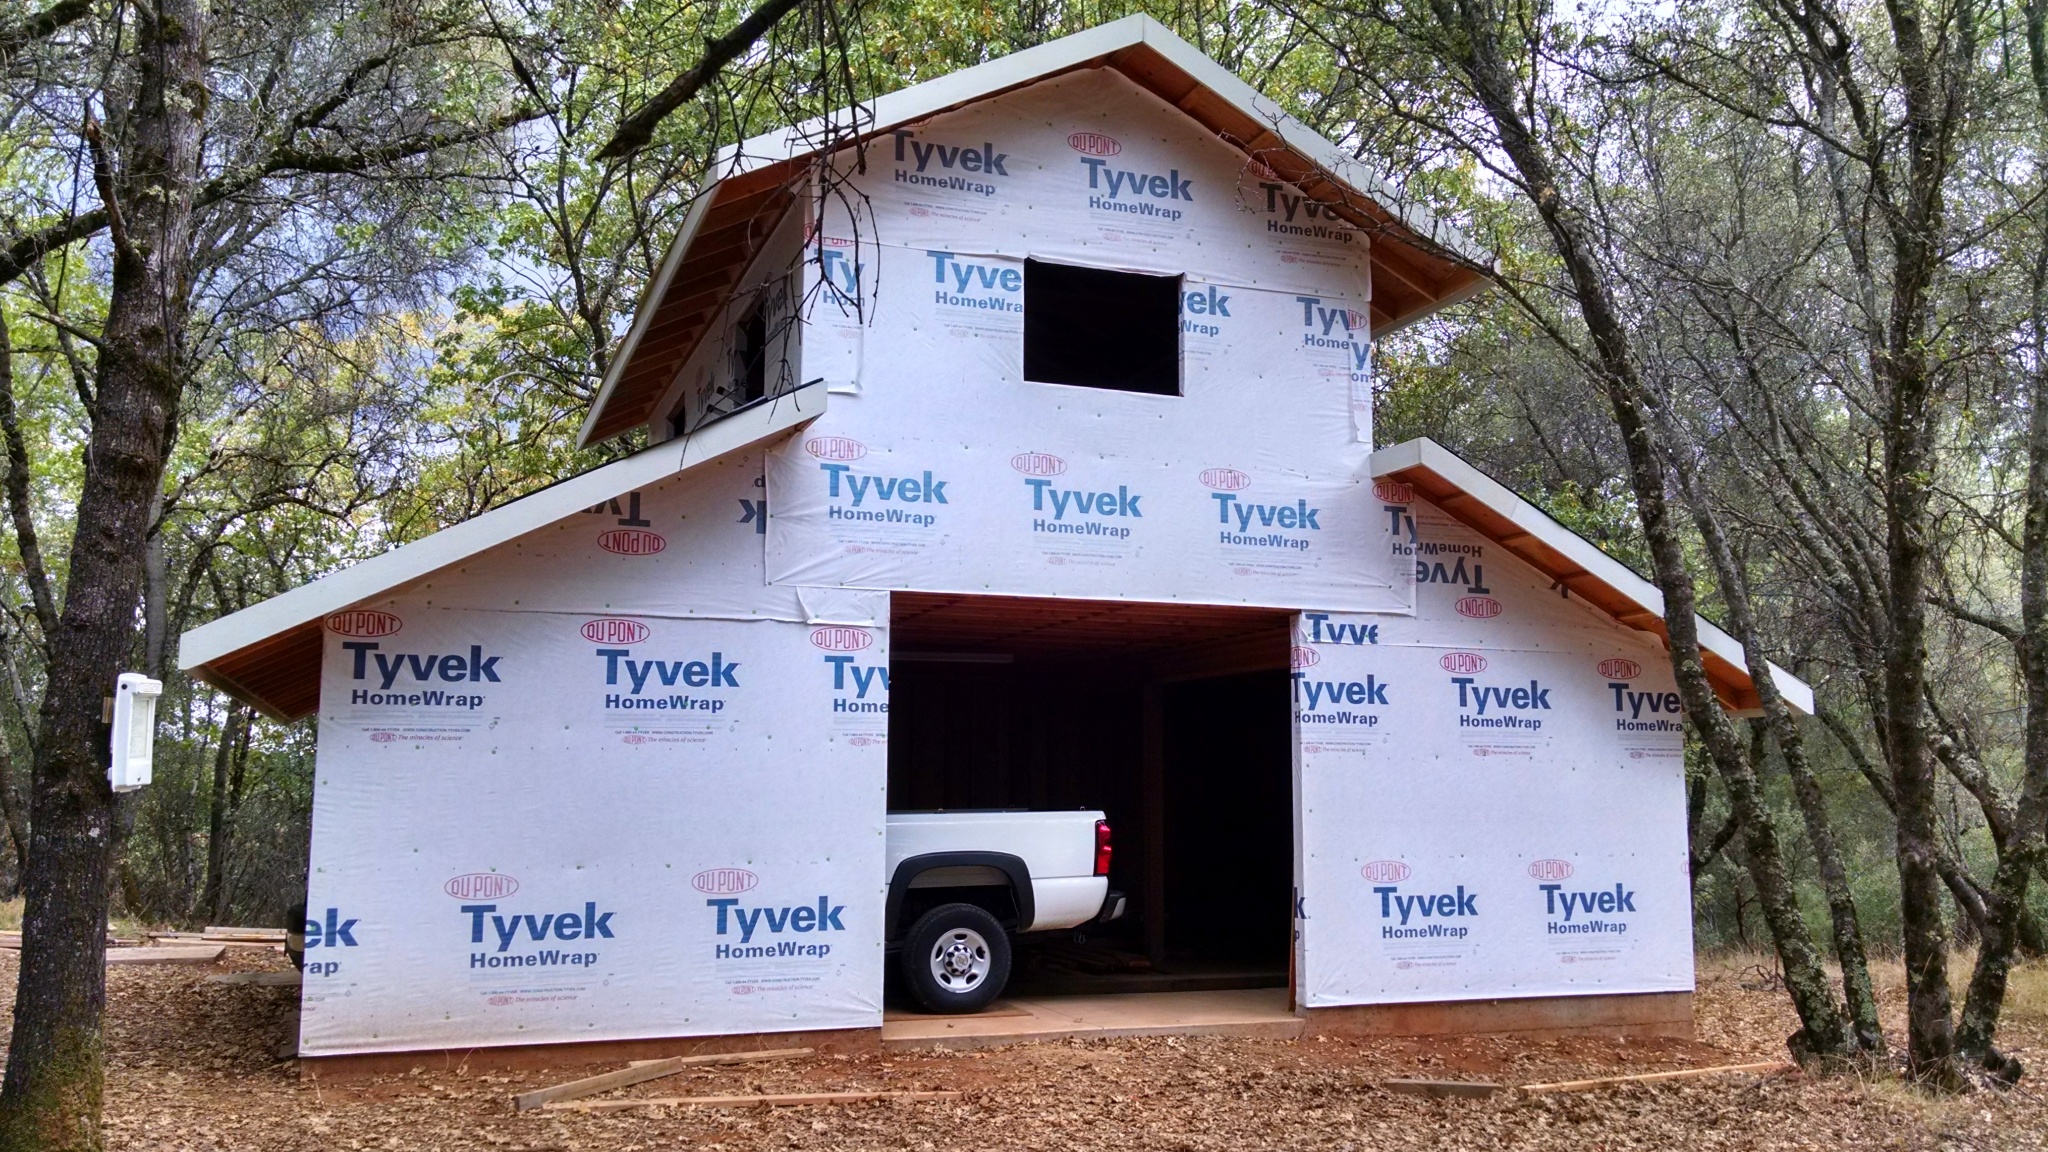
Once I got around to actually doing some work instead of just playing with the machinery I got some roof flashing installed along with the starter strips for most of the upper North roof and one strip of roll roofing.  Here it is:

wpid-wp-1414380124661.jpeg

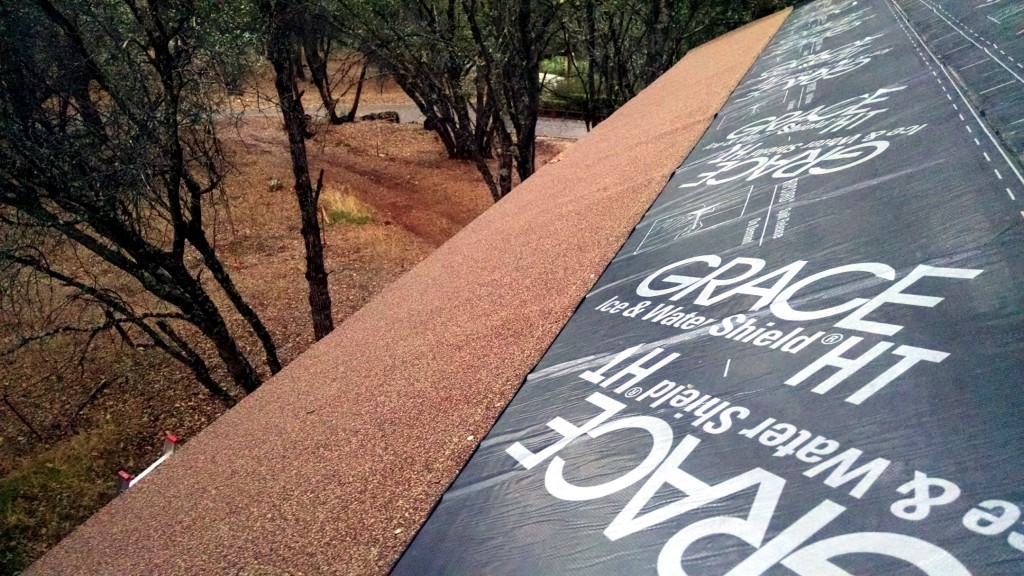
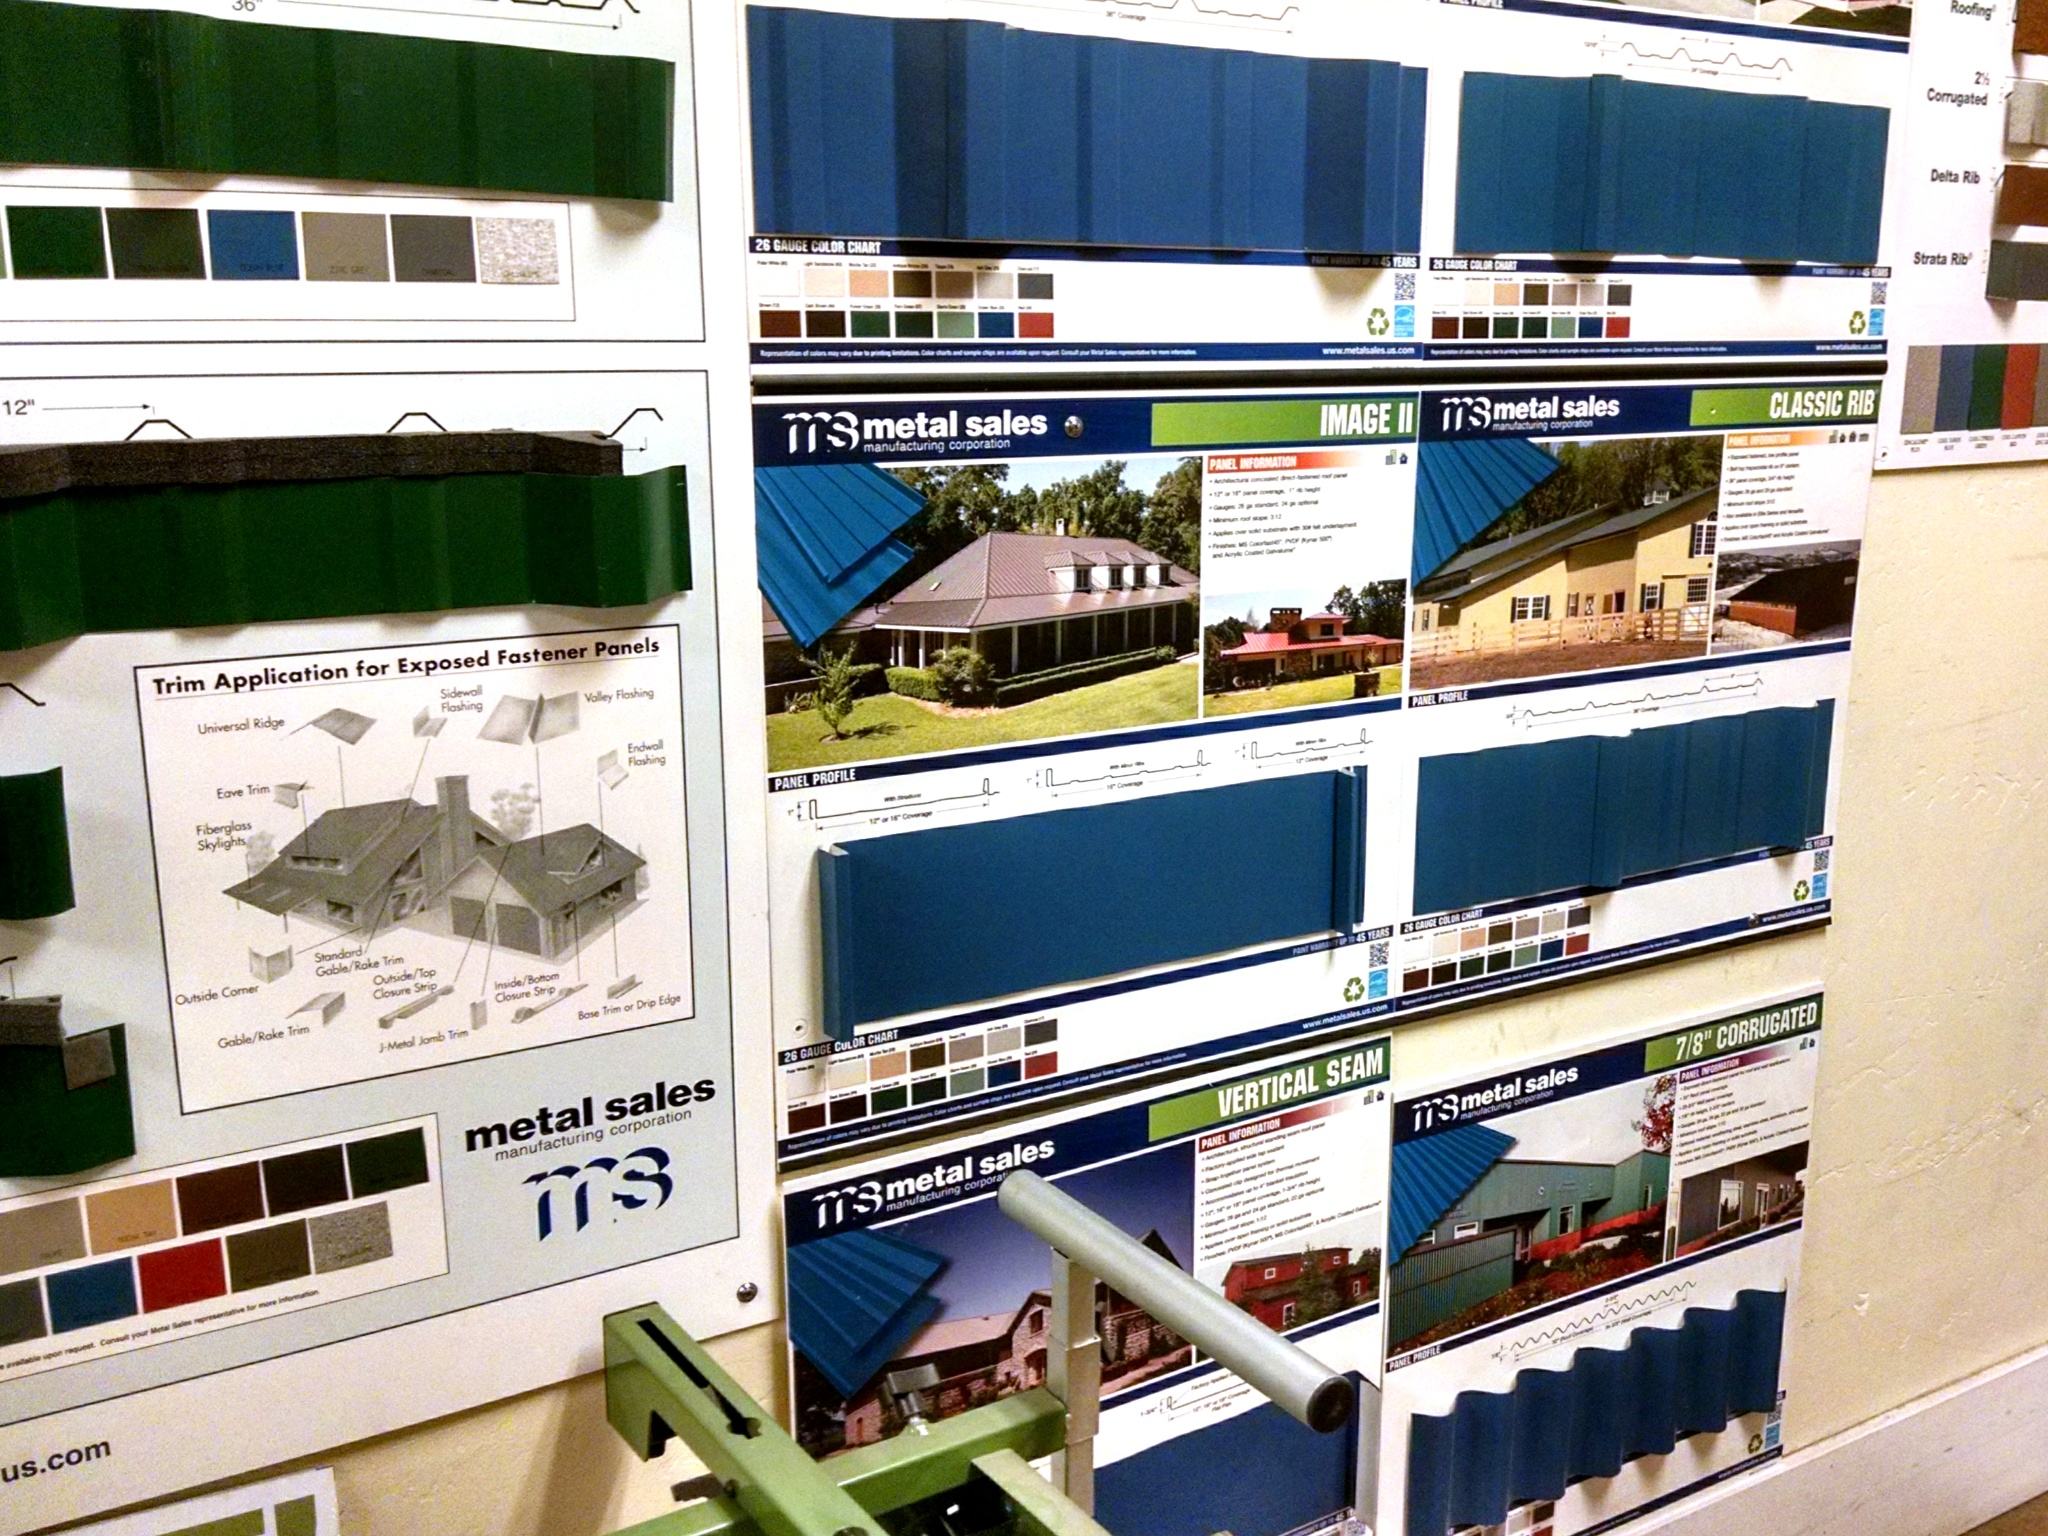
The wrinkles show through a little bit but I think it will be okay; you can’t see them at all from the ground.  This isn’t meant to be my permanent roof anyway, it’s just intended to last for a few years.  It’s pretty cheap as roofs go, the roll roofing only costs about $26 per 33 foot roll.  That’s under $400 for the entire roof.  By way of comparison my lowest quote for the vertical seam metal roofing which I want to install was about $4800.  The metal roof will outlast me, which is nice, but if I’m going to pinch pennies somewhere then the roof is the place to do it because it’s comparatively easy to re-roof the building later on.  The siding which I want to use is also a fairly expensive material and I’m never going to go back and re-side the barn so I need to buy that up front.

There were some more entertaining pictures yesterday from my buddy over at wanderingsofbaloo.org.  Who’s that crazy guy up on the ladder?  🙂

By the way, my old air compressor has turned out to be actually factually dead.  Not just mostly dead as made famous by the film The Princess Bride, but really truly completely dead.  It isn’t even trying to start any more.  I took it back to the bay area in case I get inspired to tinker around with it some, but I’m not sure it’s worth putting too much effort into a cheap Husky brand compressor which I bought back in 2003.  It has served me well and it may be time to put it out to pasture.  Maybe I’ll cut the old tank in half and make a super-strong charcoal grill, or a backyard planter or something.

Oh, one other interesting detail of note:  The neighbors are having a pretty sizable solar array installed.  At least they say it will be sizable, the crew hasn’t gotten started yet.  Today they were cutting down some trees to clear a nice sunny area for the panels which are to be ground mounted.  For the most part I couldn’t see where they were working but the sound of the chainsaws carried just fine.  I might be interested in “going solar” at some point, but I’m not going to use anywhere near enough power in the barn to make it worth the money right now.
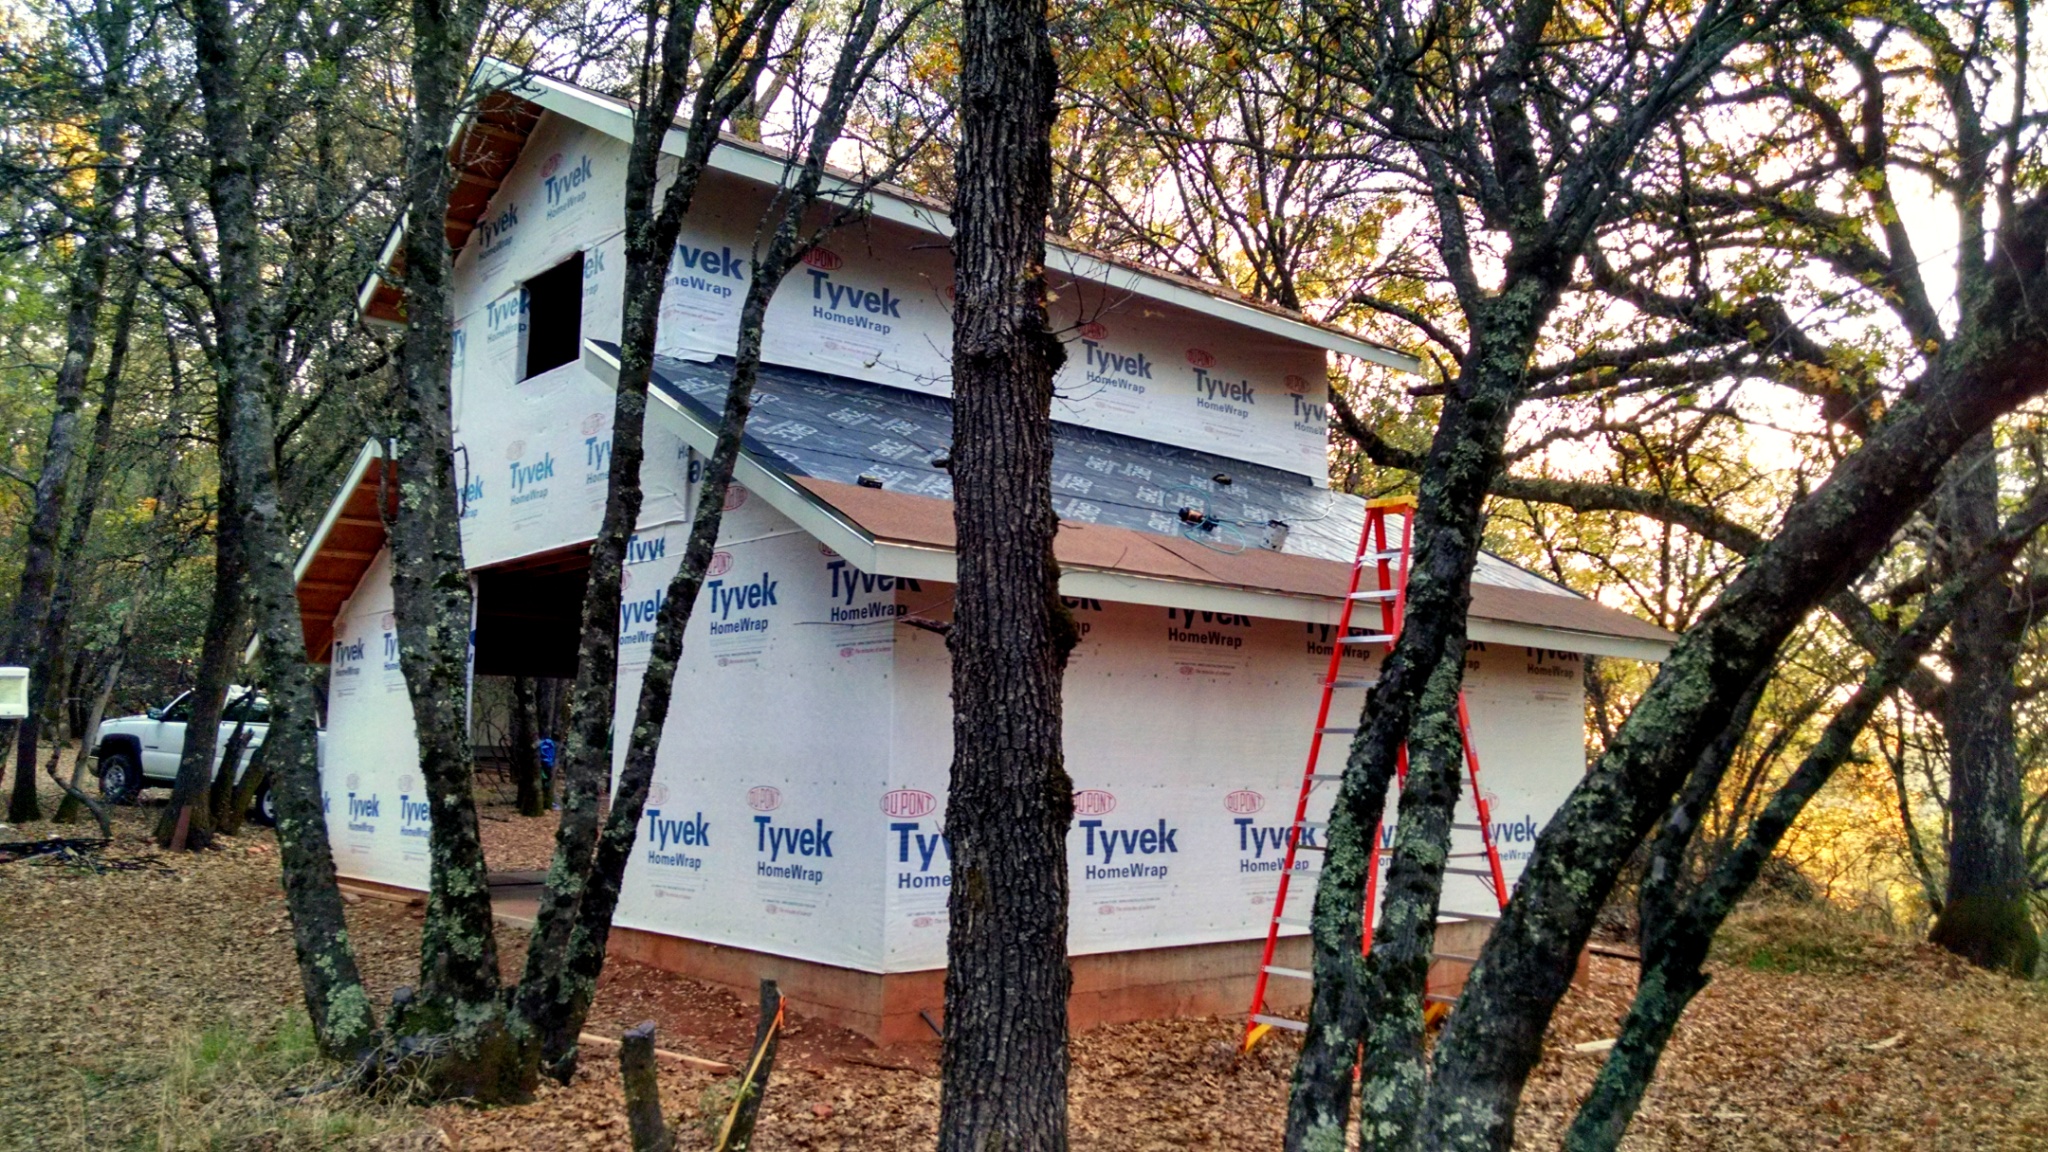
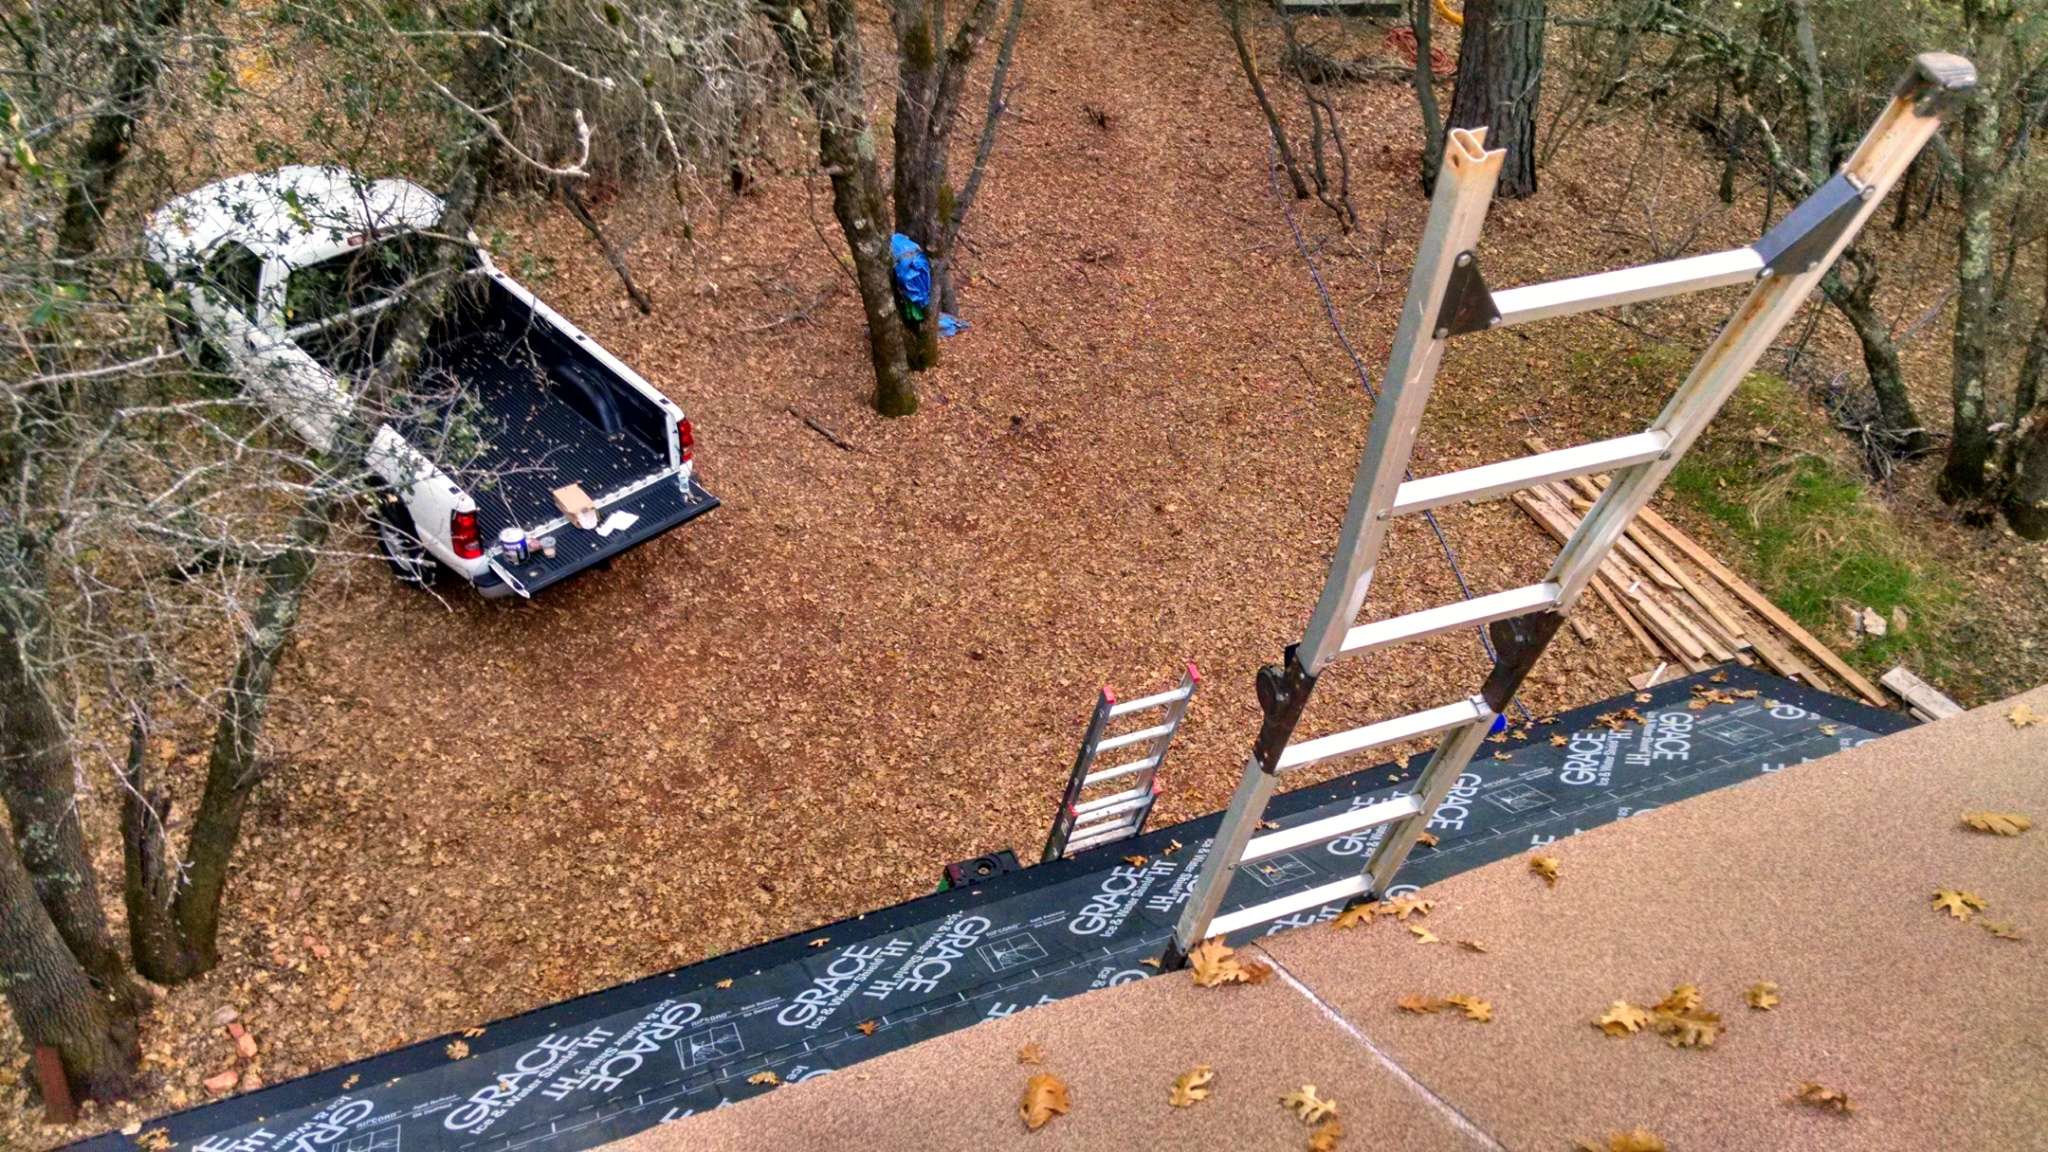
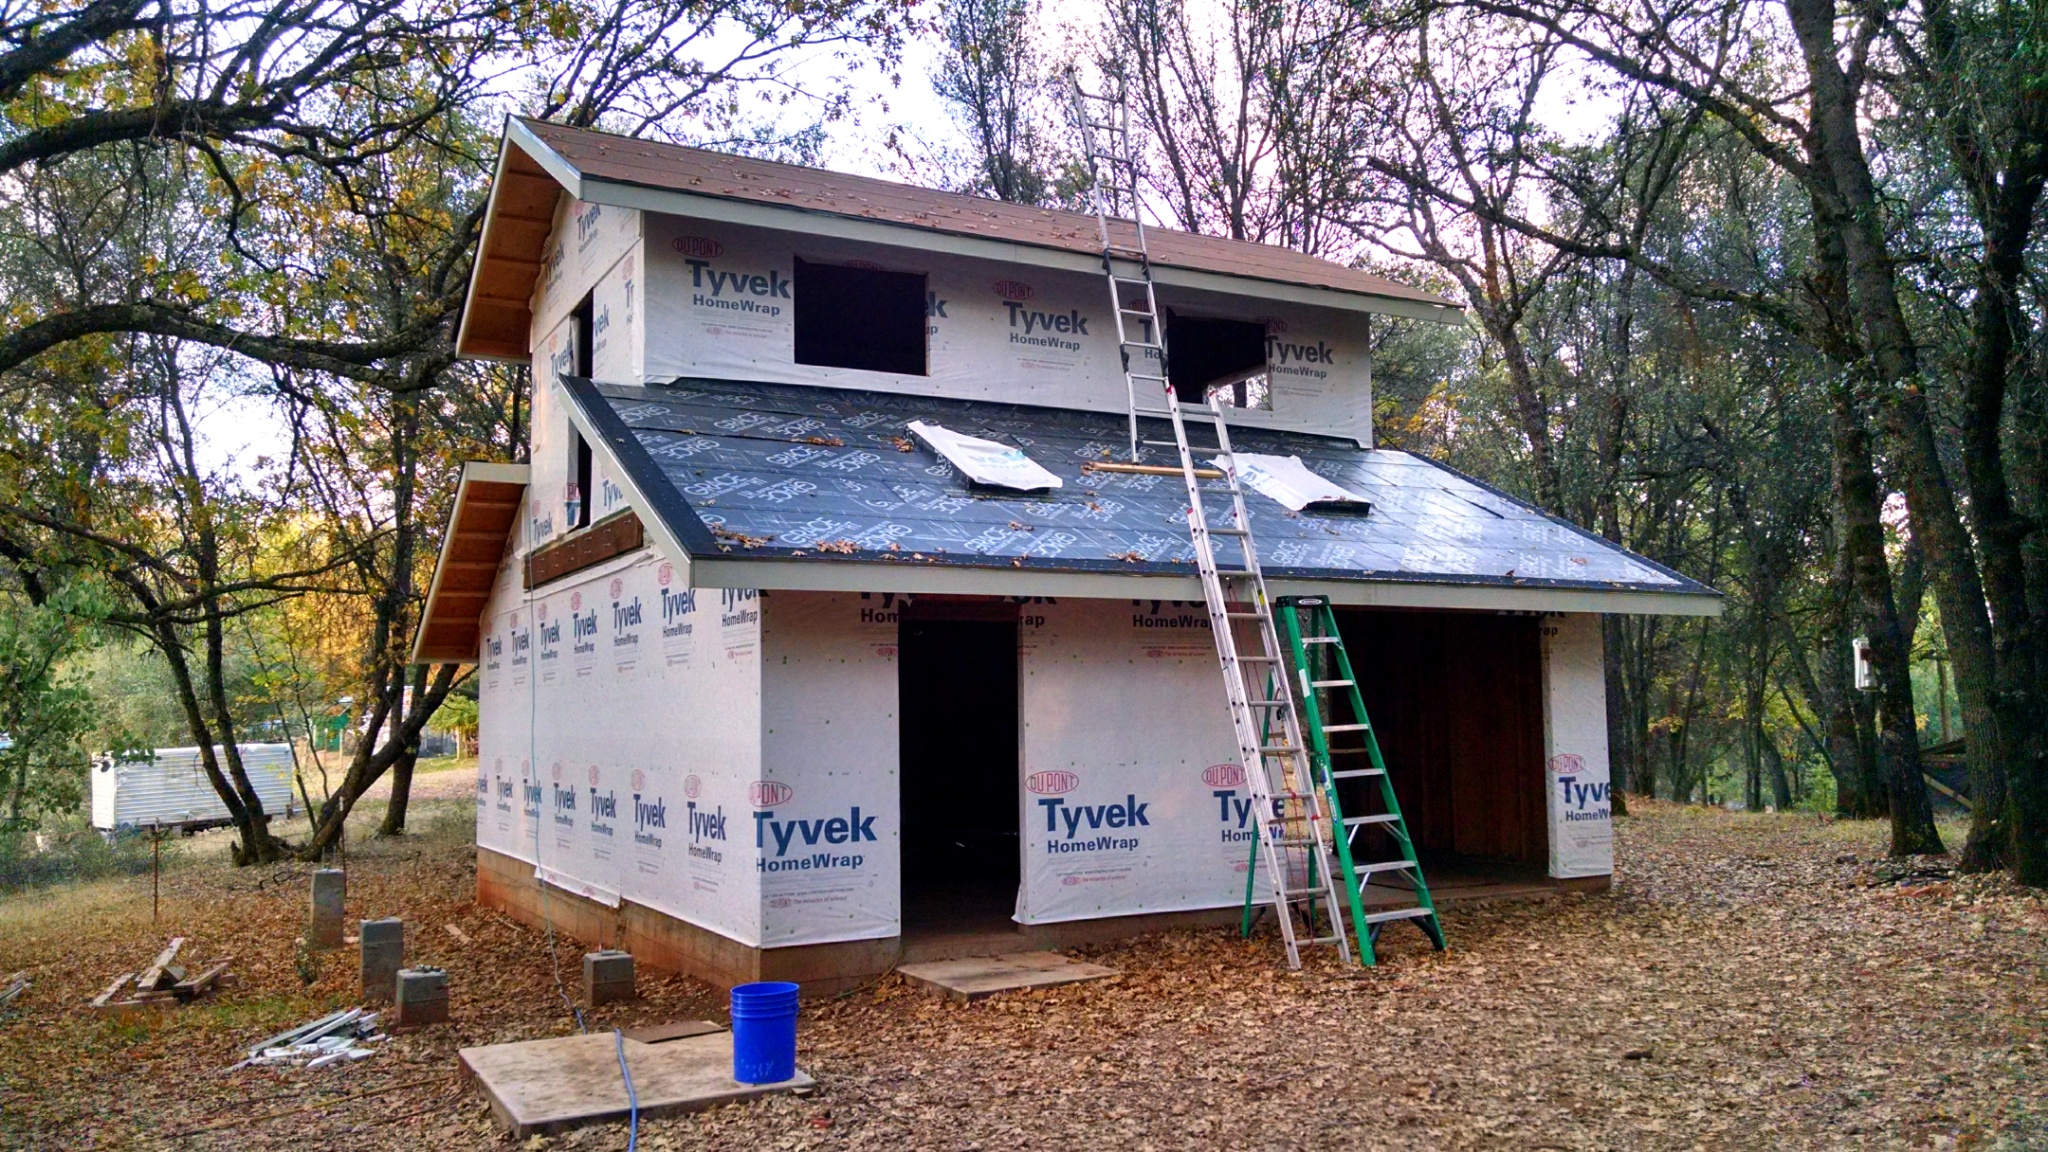
The Hens Get Their Nest Boxes

I had been planning on going up to Grass Valley today, but the forecast was for a 60% chance of rain so I reconsidered.  Instead of working on the barn, I stayed in San Jose and installed the nest boxes on the side of my chicken coop.

wpid-wp-1414266426632.jpeg

The boxes could use a second coat of paint and they need a shingle or two on the roof, but they are installed and ready for some chicken business.

The crazy chicken lady recommends curtains on the boxes, which seems kind of silly but it might be a good idea.  The coop roof is transparent, so there’s lots of light which I’m not sure a nesting hen would appreciate.  I’ll see how they behave once they get the hang of their new accommodations.

The Barn Is Back In Rotation

After eight months of inactivity, I’ve finally got enough time available to put the barn back in rotation!

The fine fellows at wanderingsofbaloo.org came out to California for a three day weekend, and were kind enough to help me out with some otherwise impossible lifting and fastening.  Progress was as usual slower than we would have liked, but we got all of the roof trim installed and some of the drip edge as well.

wpid-wp-1413989329360.jpeg

wpid-wp-1413989233417.jpeg wpid-wp-1413989444056.jpeg

I’m still planning to eventually put a metal roof on, but the fall season is here and I don’t think the underlayment I installed will last through the whole winter.  I’m going to put on some inexpensive roll roofing which ought to last me for at least 5 years.  That’s plenty of time to finish the rest of the project and then I can worry about installing a nicer roof.  Speaking of which, after searching all over the country for a supplier for Metal Sales Image II vertical seam roof panels I discovered this weekend that Hills Flat Lumber can order them for me.  They even have a display in the back hallway of the store!

wpid-wp-1413988962979.jpeg

I won’t be going with the blue color shown here, I was thinking that Forest Green or Sierra Green would look nicer.  I’m happy that I’ve found a local vendor though.

We had a lot of trouble on Monday getting work done.  A couple of hours into the morning my ten year old old cheap air compressor stalled and then died.   We took a trip into town to get lunch and also picked up a nice new oil lubricated unit at Tractor Supply.  It should last me for a long time.

wpid-wp-1413989033852.jpeg

The only hitch was that it turned out my generator doesn’t put out enough amps to get the compressor motor up to full speed.  We borrowed power from my next door neighbor 150 feet or so down the hill, but I don’t want to have to impose on him every time I need to get any work done.  I’m going to try using a smaller motor pulley on the compressor to reduce the starting load.  The pump will run slower but it should still pump air okay.

The Hens Have Started Laying

Well, one hen has started laying anyway.  I went to check on the chickens this morning and I found two small eggs which look to be from the Ameraucana.  The shells and membrane were quite robust.  I’ve heard that they can start out thin, sometimes even laying an egg with no shell at all.  These were just fine.

wpid-img_20141010_110207.jpgwpid-img_20141010_094712.jpg


The Ameraucana is 20 weeks old now, so she’s more or less right on schedule.  The other girls are 19 weeks.  I expect the Red ought to begin laying pretty soon, but the Marans and the Buttercup may take longer.

Wine Fermenting Nicely

After a flurry of activity this weekend adjusting the chemistry of the grapes and getting everything “just so”, the wine is calmly fermenting down in my cellar.

It looks a bit messy, but it’s supposed to be that way.  It doesn’t really look like wine until it is pressed, which for red wines occurs after the fermentation.

wpid-wp-1410846743994.jpegwpid-wp-1410846635821.jpegwpid-wp-1410846960642.jpegwpid-wp-1410846542600.jpeg

These particular grapes measured out at 31 brix, which is an astonishingly high sugar level.  I suspect that the drought has starved the vines for water in the vineyard, a typical Zinfandel would be perhaps 23 brix.   It’s unlikely that the yeast I’m using will be able to ferment this much sugar completely.  A typical approach to grapes with high sugar is to water them down and add a bit of acid in order to get the right balance for a table wine, but I’ve opted not to do that.  Since it’s unusual to get this much naturally occurring sugar I see it as an opportunity to try for a naturally sweet wine.  There will be some challenges but it might be a really excellent product if it works.

2014 Grape Harvest Coming In

A while back I placed an order for 200 pounds of 2014 Zinfandel grapes, and yesterday I got the call that the vineyard is harvesting this week and that the grapes will be available for me to pick up at 4 PM on Saturday!  I went out today and picked up some supplies, and I rummaged around the cellar to find all the food-safe containers that I’ll need for bring the grapes home and fermenting them.  Then I cleaned everything off with some brewery cleaner.

wpid-wp-1410589328574.jpeg

My 200 pounds of grapes should give me around 22 gallons of must (unfermented crushed grapes).  They will fit nicely in my 30 gallon barrel with a bit of head space left over for fermentation activity.

I spent some time in the evening moving things around the cellar to make space for the fermentation.  The temperature will be fairly stable down there; I’ve been keeping an eye on it and it fluctuates between about 68 and 73 degrees during nights and days that range from the low sixties to the low nineties.  It’s not the best temperature for aging but for the fermentation it should be about perfect.

There are a lot of variables to the process, but after all is said and done I am anticipating about a dozen gallons of finished wine or around 60 bottles in all.  I might get as high as 80 bottles if my process and pressing efficiency are very good, and if the vineyard errs a little in my favor on the weight.  🙂  Stay tuned for progress updates!

I Finally Got A Stove!

After living in my house for nearly a year, I finally got around to buying a stove!

wpid-wp-1409862940935.jpeg

I chose a white one because I’m sort of converging on a white theme for this kitchen.  The fridge is white and I am going to put in a white enameled sink.  I’m going for an “Iowa Farmhouse” aesthetic, to complement the chickens in the back yard.  Also the price was very attractive and this model got an excellent rating from Consumer Reports.

I guess it’s properly called a range.  Why do they call it that?  If you have an appliance with only the burners then it’s called a cooktop, and if you have just an oven then they call it an oven.  So why does the marketing literature always call stoves ranges?  I guess range is probably technically correct.  A stove would be more like something that you burn wood in.  Who has ever heard of a wood burning range?

I also ordered a vent hood.  The delivery guys arrived on Wednesday afternoon and dropped everything off, but they didn’t do the installation.  They were supposed to hook up the stove, or perhaps the range, but the gas compression fitting was an incorrect size and the guy couldn’t get it unscrewed to install the proper one.  It looked like it had been sealed with some sort of cement instead of pipe tape or dope, and it was completely immobile.  Maybe whoever originally put it on thought that would be better than doing it the correct way?  I would up having to replace the whole shutoff valve, which I did myself later in the evening.  Home Depot is apparently so confident that all modern ranges use 5/8″ compression fittings that they sell a valve which has a non-replacable fitting of that size cast into the valve body on the outlet side.

wpid-wp-1409864147220.jpegwpid-wp-1409864437132.jpeg

I also installed the child safety bracket for some reason.  I don’t have children, so it’s not like anyone is going to climb on the oven door and try to tip the appliance over.  But it came included for free so I figured I might as well use it.

Fun fact:  The hex head screws included with the anti-tip bracket are metric.  Thanks, Kenmore!

To be clear, I haven’t been eating at In-N-Out burger every day for a whole year or anything like that.  I have a nice induction hot plate which together with a pressure cooker can make all sorts of things.  As versatile as that setup was however, there was no way to properly bake or roast with it.  It will be nice having an oven again, I’ll have to make up a batch of ginger cookies this weekend to properly test it out!  🙂


Fixed Up The Yard

I spruced up the front yard at my house last week.  I think it’s looking pretty nice!

wpid-wp-1408996030577.jpeg

I brought in 6 yards of bark mulch to take the place of the long-dead lawn, which I never replanted on account of the drought.  I still need to do the front parking strip, which doesn’t appear in this photo, but it’s a vast improvement over the way it looked before.